Only with us - Order stamps EASY:
Design your imprint individually in our design tool first (TEXT, GRAPHICS, TEXT & GRAPHICS) and then let our system show you suitable models.
To order a graphic stamp from us with a finished stamp graphic online, design your graphic locally on your computer (Office programs, Photoshop etc.) and upload the finished graphic to our website.
For information on how to prepare your graphic (file format, resolution, font size, etc.), see Guidlines for graphic stamps.
Order stamps EASY: First upload your file, then select model in step 2.
First select your desired model and then upload your graphic in step 2.
Watch our short explanatory video to find out about all the options you can use online to upload a file / logo and order your personalised stamp with us.
In our online stamp editor, you can easily and conveniently upload your graphic and order your desired imprint as a stamp.
The most important points:
Once you have checked everything, let our shop show you the suitable stamp models
We are happy to explain the 3 simple steps for ordering your stamp with your own graphic here

In the first step, you can upload your own graphic in the stamp editor. Pay attention to the following format information for the graphic:
You can see directly in the preview what your stamp impression will look like and how large your impression will be.

Once you have uploaded your graphic you can optimise the following points:
You have the possibility to download andprint a 1:1 preview as PDFat any time, so that you can view and check your stamp imprint on A4 paper in the actual imprint size.

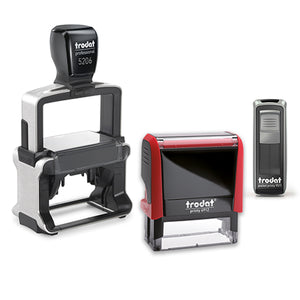
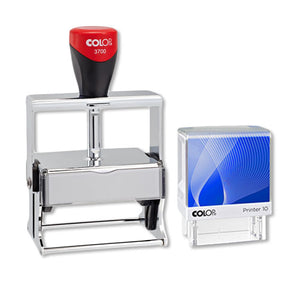
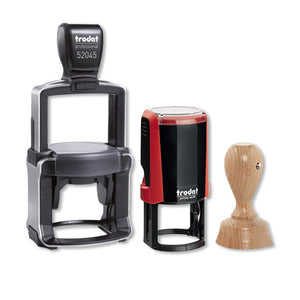
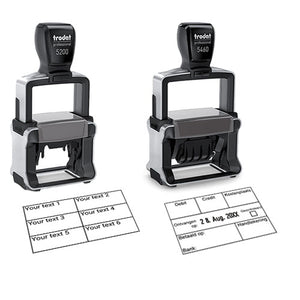
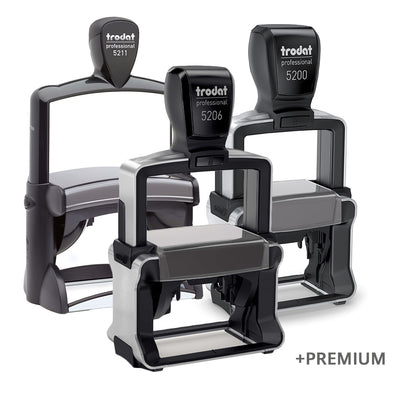
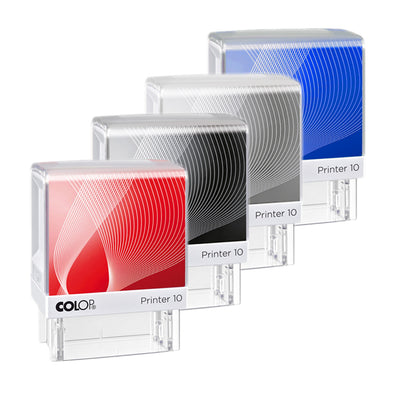
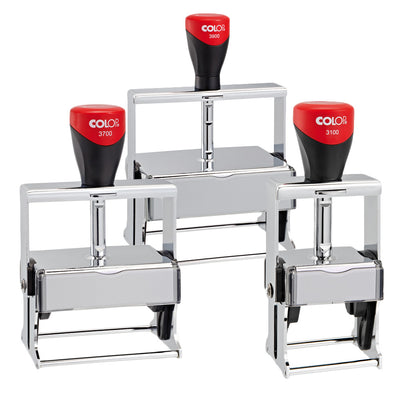
After you have uploaded your stamp graphic and are satisfied with the preview of your stamp imprint, our system will display the matching stamp models in the next step.
From each stamp category the matching model will be shown, with a short description of the stamp.

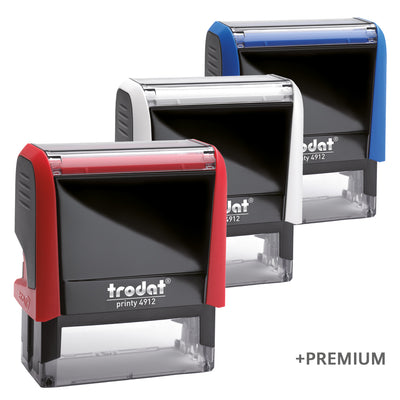
Once you have selected your desired stamp model online, you can configure your stamp model in the third and last step.
You can choose the color of the stamp body and the color of the stamp imprint online. Our system will also show you how large your imprint will be and the maximum imprint size of your chosen stamp model.
If you have any questions regarding our stamp products, please do not hesitate to contact us using one of the options below.